
To send emails directly from a PHP script, the first method is to use the built-in mail() function.
To make use of the PHP send mail feature, users who host their PHP application or website on a local server must configure the Sendmail program by editing the php.ini file in their PHP installation directory.
If you’re using a hosting server, Sendmail is almost always configured for you. However, you must ensure that your hosting provider permits manual management of the Sendmail service.
Users of Hostinger can enable or disable this feature by logging into the hPanel and navigating to Emails -> Mail Service Control.
The Sendmail service is enabled by default. Nonetheless, double-check to ensure accuracy.
Creating a PHP Mail Test File
After ensuring that Sendmail is operational, we’ll create a PHP mail script file in the public html directory.
How to do it:
1. To access the Hostinger File Manager, navigate to Files -> File Manager in hPanel.
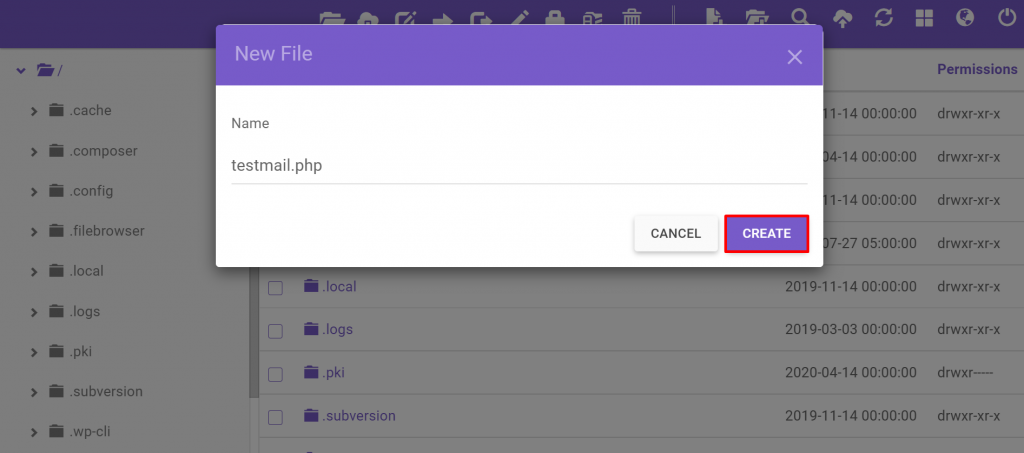
2. Double-click the public html folder and then on the top bar, click the New File icon. Give this new file the name testmail.php and then click Create.
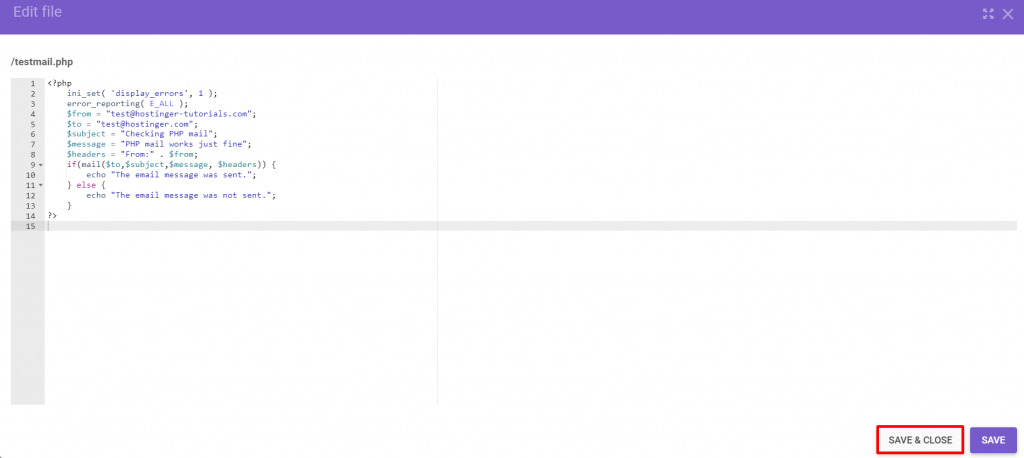
3. To edit testmail.php, double-click on it. You may use the basic PHP code below, but you must adjust the parameters appropriately.
<?php
ini_set( ‘display_errors’, 1 );
error_reporting( E_ALL );
$from = “[email protected]”;
$to = “[email protected]”;
$subject = “Checking PHP mail”;
$message = “PHP mail works just fine”;
$headers = “From:” . $from;
if(mail($to,$subject,$message, $headers)) {
echo “The email message was sent.”;
} else {
echo “The email message was not sent.”;
}
?>
4. Once finished editing, click Save & Close.
5. Send the email by browsing to YourDomain/testmail.php. Remember to replace YourDomain with the domain name that was used to create testmail.php.
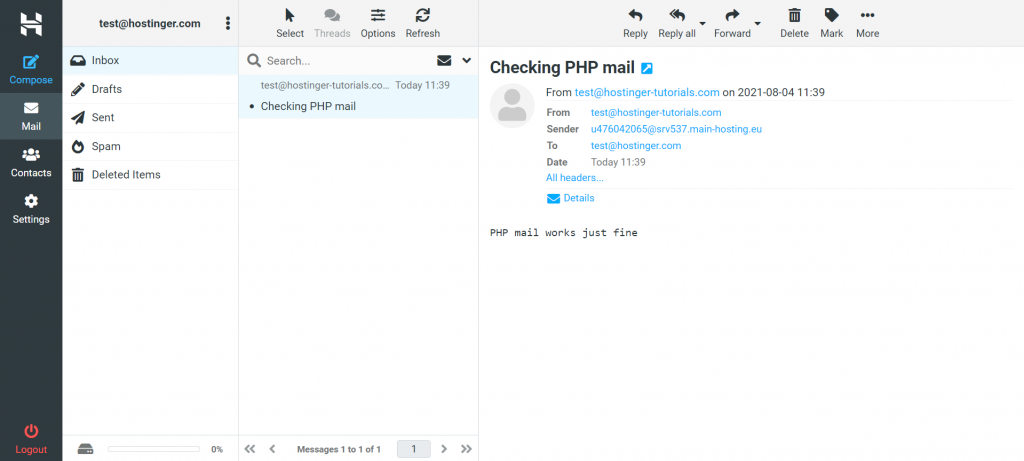
6. The recipient will receive the following message:
How to Send Emails Using PHPMailer
If you’re sending a large number of emails, it’s recommended that you use an external PHP mailing package. The native PHP mail() function is not designed to handle large volumes of email because it opens and closes a Simple Mail Transfer Protocol (SMTP) socket connection for each email.
Numerous PHP mail packages are available, including Pear Mail and Swift Mailer. We’ll use PHPMailer in this article.
PHPMailer is a widely used email sending library that supports sending emails via the mail() function or an SMTP server. It provides access to a set of email-sending functions, which simplifies the process of configuring PHP mail.
Installing PHPMailer
Installing PHPMailer is a breeze, especially if you already have Composer installed – this tool is included with many shared hosting plans.
To manually install PHPMailer, connect to your hosting account via the SSH terminal as follows:
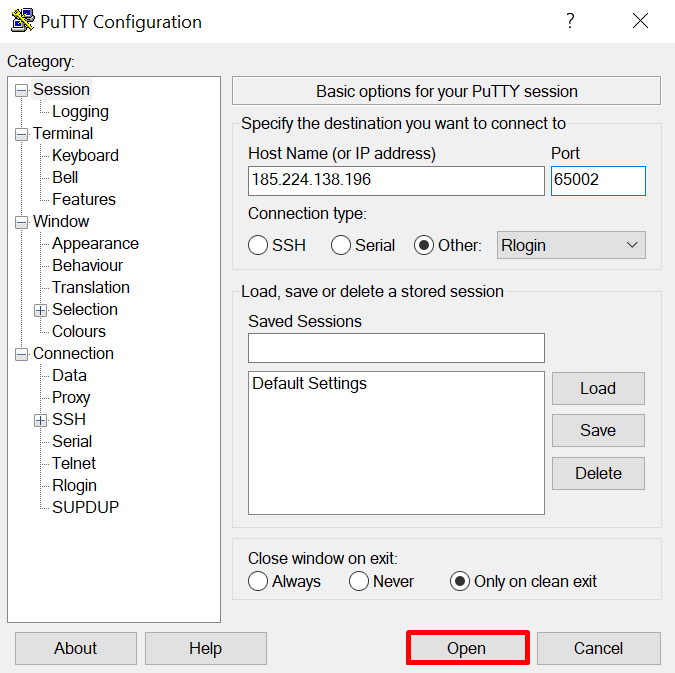
1. Download and install the PuTTY SSH client from the PuTTY website.
2. From your hPanel dashboard, navigate to Advanced -> SSH Access and note the SSH IP address, port number, username, and password listed under SSH Access information.
3. Launch PuTTY and fill in the Host Name (or IP address) and Port fields with your SSH credentials. After that, click Open.
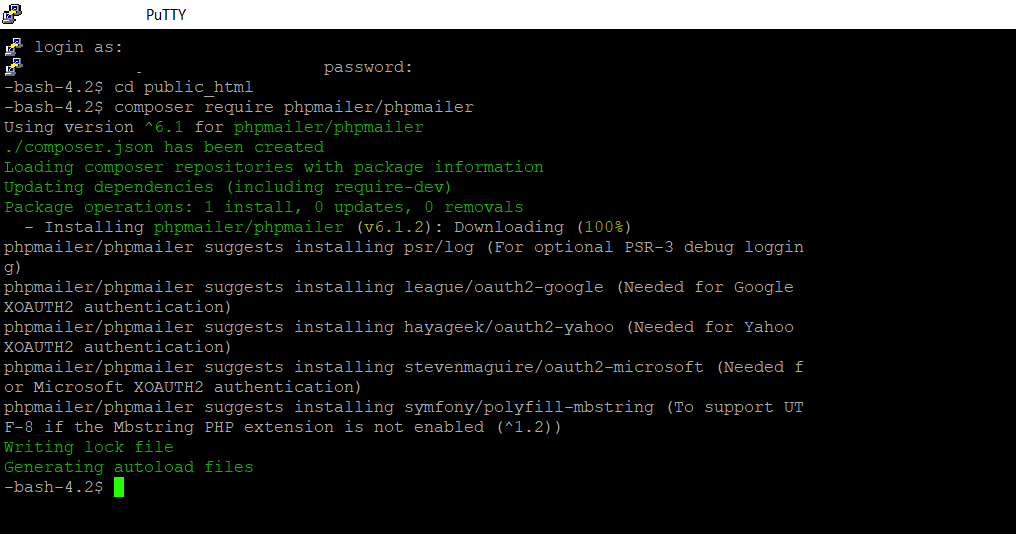
4. When a command window appears, enter your SSH username and password. Bear in mind that PuTTY will not display the password, so do not be alarmed if it does not appear.
5. Enter the cd public html command.
6. Finally, enter the composer require phpmailer/phpmailer command.
7. Wait a moment for the installation process to complete.
Utilizing PHPMailer in conjunction with Hostinger’s SMTP
You can use PHPMailer to send PHP emails immediately after installation.
In this section, we’ll demonstrate how to send email using PHPMailer via the Hostinger SMTP server:
1. Access the hPanel and navigate to Emails -> Email Accounts -> Create New Email Account.
2. Enter your new email address and password. After that, click Create. Bear in mind that you will be using this information to send email via PHPMailer.
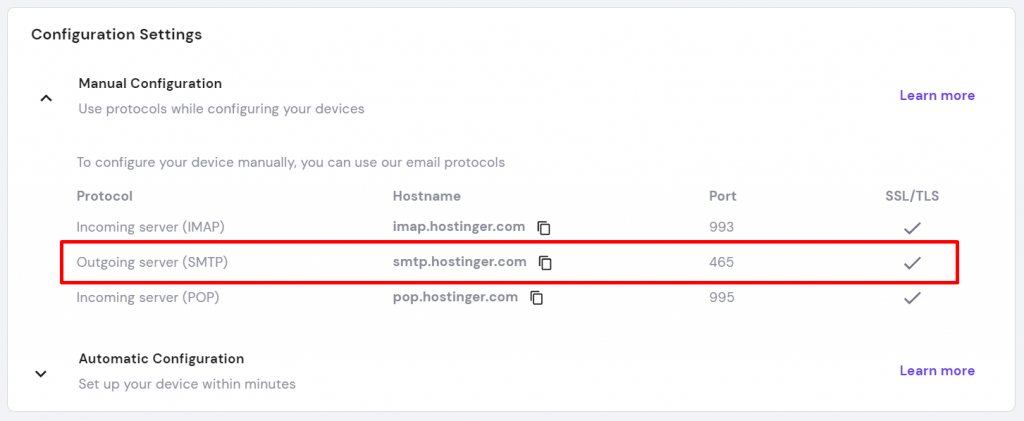
3. Return to the same page and navigate to Configuration Settings -> Manual Configuration, noting the SMTP Host and Port.
4. Navigate to Files -> File Manager in the hPanel dashboard. To create a new file, right-click the public html folder and select Add New. Create a file called testphpmailer.php and give it a name.
5. Double-click the testphpmailer.php file and then copy and paste the code below, making any necessary modifications. Replace [email protected] with your Hostinger email address and EMAIL ACCOUNT PASSWORD with your Hostinger password.
<?php
use PHPMailer\PHPMailer\PHPMailer;
require ‘vendor/autoload.php’;
$mail = new PHPMailer;
$mail->isSMTP();
$mail->SMTPDebug = 2;
$mail->Host = ‘smtp.hostinger.com’;
$mail->Port = 587;
$mail->SMTPAuth = true;
$mail->Username = ‘[email protected]’;
$mail->Password = ‘EMAIL_ACCOUNT_PASSWORD’;
$mail->setFrom(‘[email protected]’, ‘Your Name’);
$mail->addReplyTo(‘[email protected]’, ‘Your Name’);
$mail->addAddress(‘[email protected]’, ‘Receiver Name’);
$mail->Subject = ‘Testing PHPMailer’;
$mail->msgHTML(file_get_contents(‘message.html’), __DIR__);
$mail->Body = ‘This is a plain text message body’;
//$mail->addAttachment(‘test.txt’);
if (!$mail->send()) {
echo ‘Mailer Error: ‘ . $mail->ErrorInfo;
} else {
echo ‘The email message was sent.’;
}
?>
6. Once you’ve finished editing the code, click Save & Close. To run the script, navigate to YourDomain.com/testphpmailer.php in your browser’s address bar.